Self Help Page:
A step-by-step guide on Windows activation
How to activate Windows?
If you’ve recently obtained a new Windows operating system or need to activate it for any reason, follow these steps to ensure a smooth activation process.
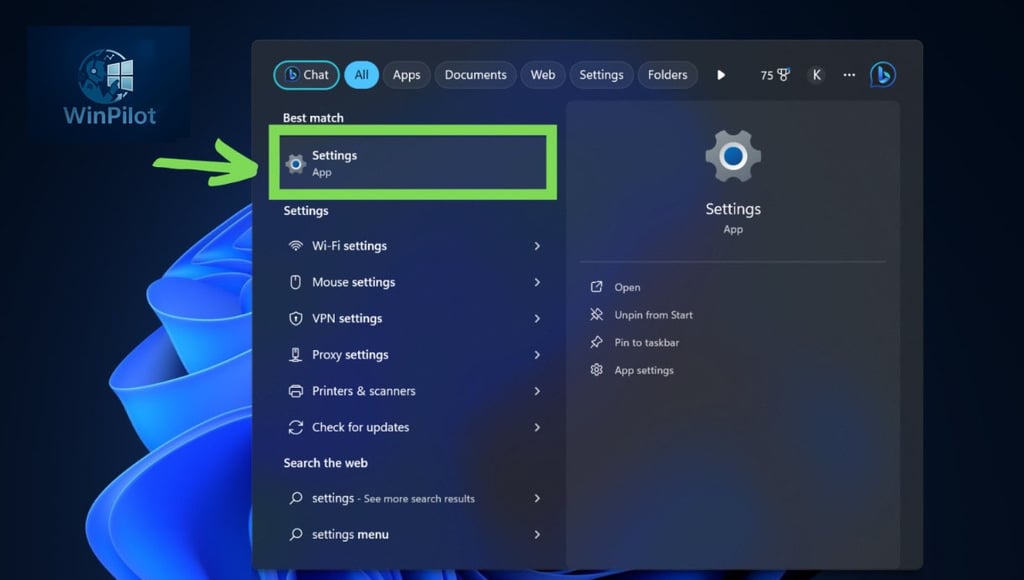
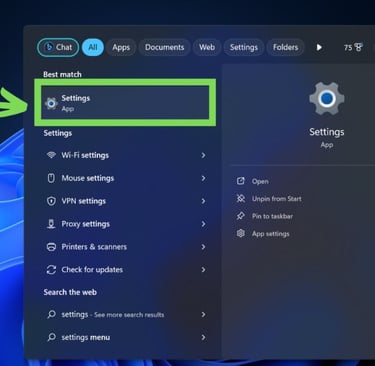
1. Opening Settings:
Start by clicking on the Windows icon located at the bottom-left corner of your screen. You can also quickly find the Settings option by typing “Settings” into the search bar on the Windows start screen.
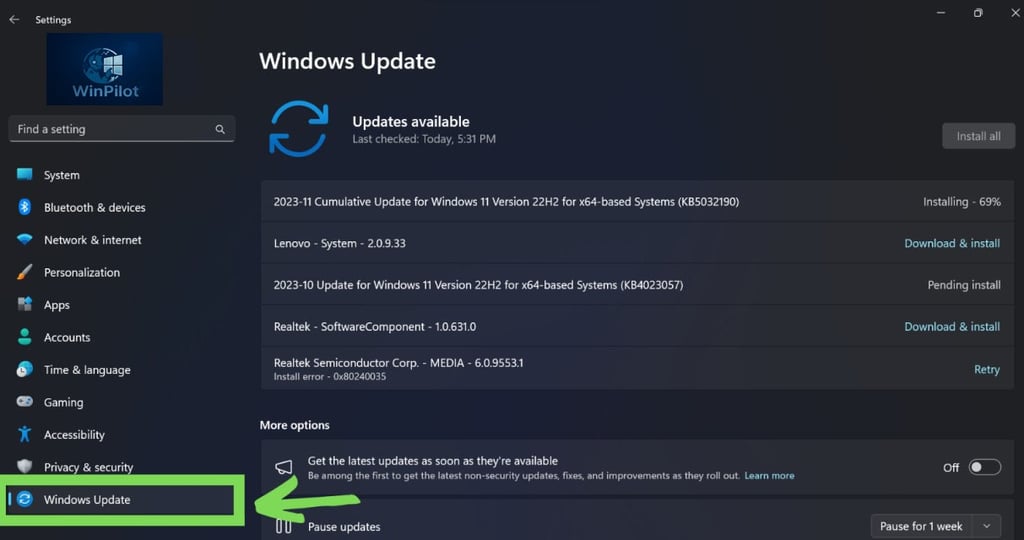
2. Going to Windows Update:
Within the Settings menu, find and select “Windows Update” (sometimes labeled as “Updates and Checks”). Begin the update process by choosing “Check for updates.” If no updates are found, proceed to the next step.
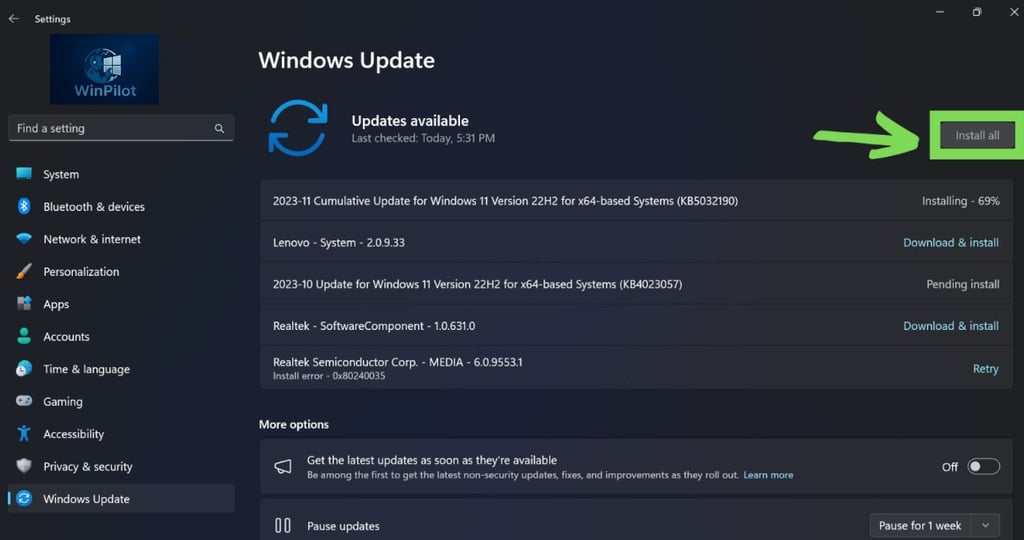
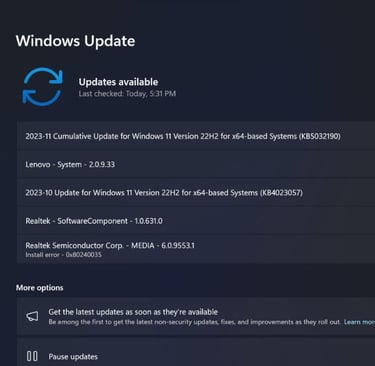
3. Installing Updates:
After the update check is finished, any available updates will be installed. This ensures your system is fully updated before you proceed with activation.
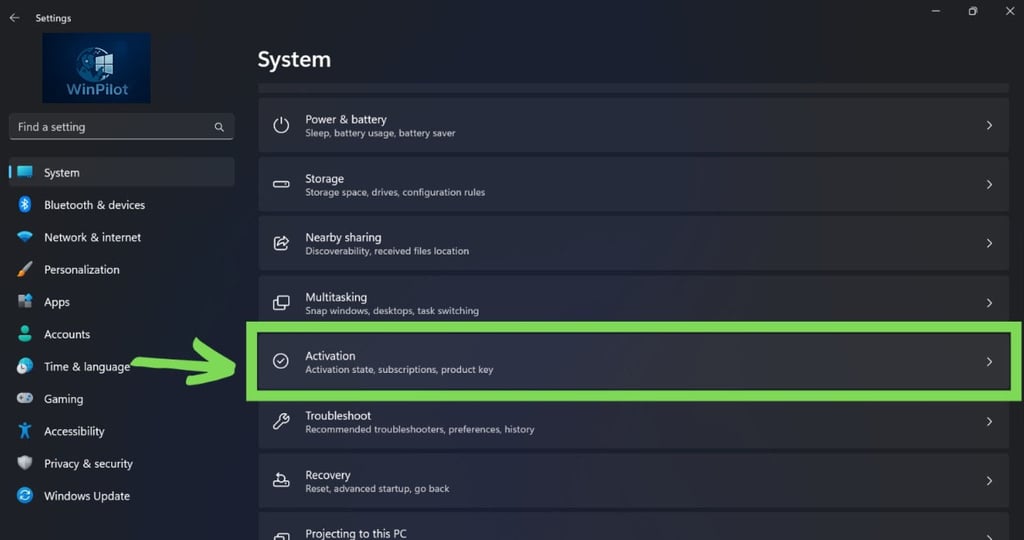
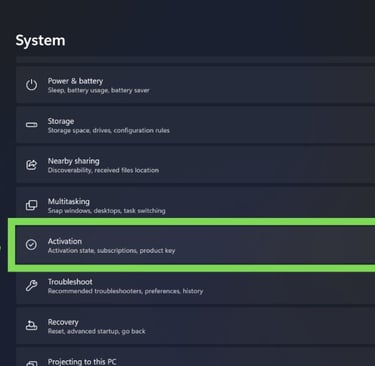
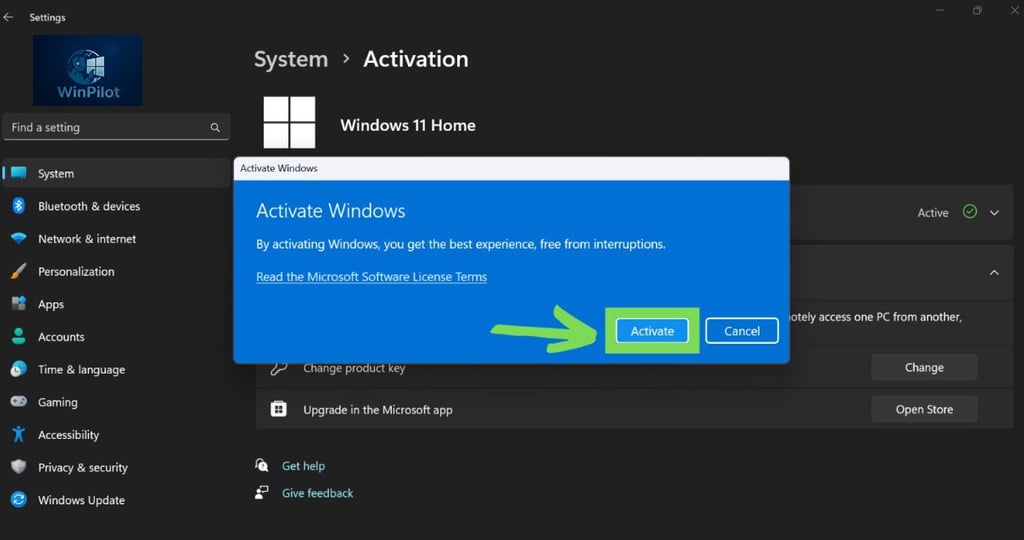
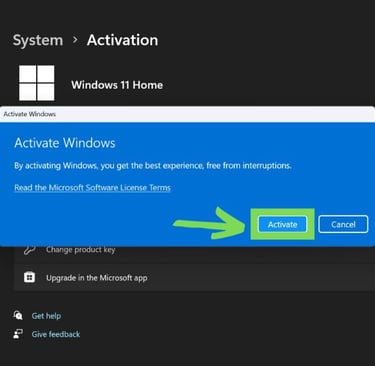
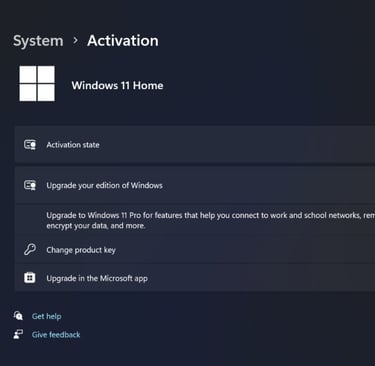
4. Activating Your System:
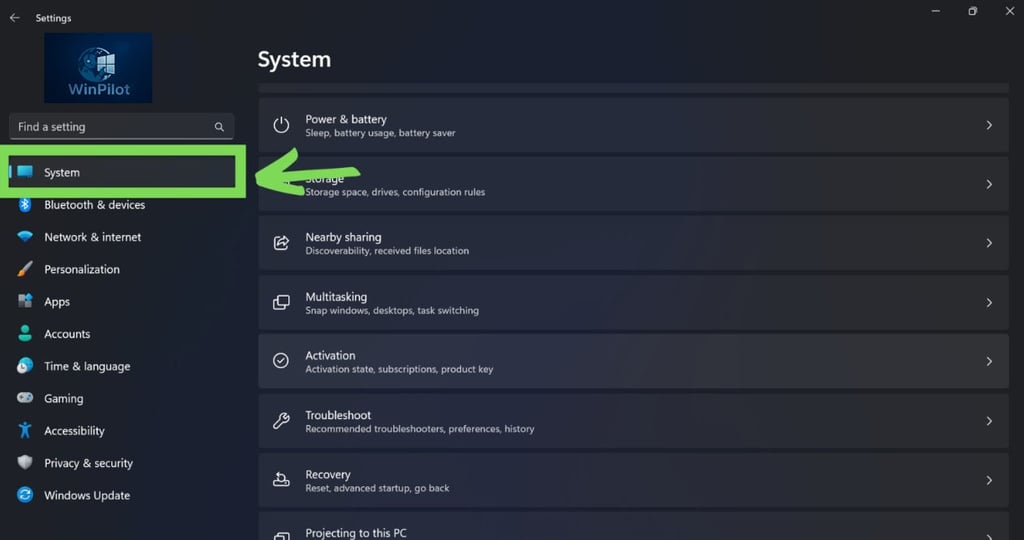
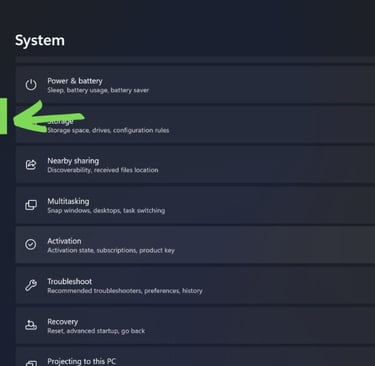
Next, find the activation option. If “Activate Windows” isn’t visible, look for the “System” option and follow the prompts.
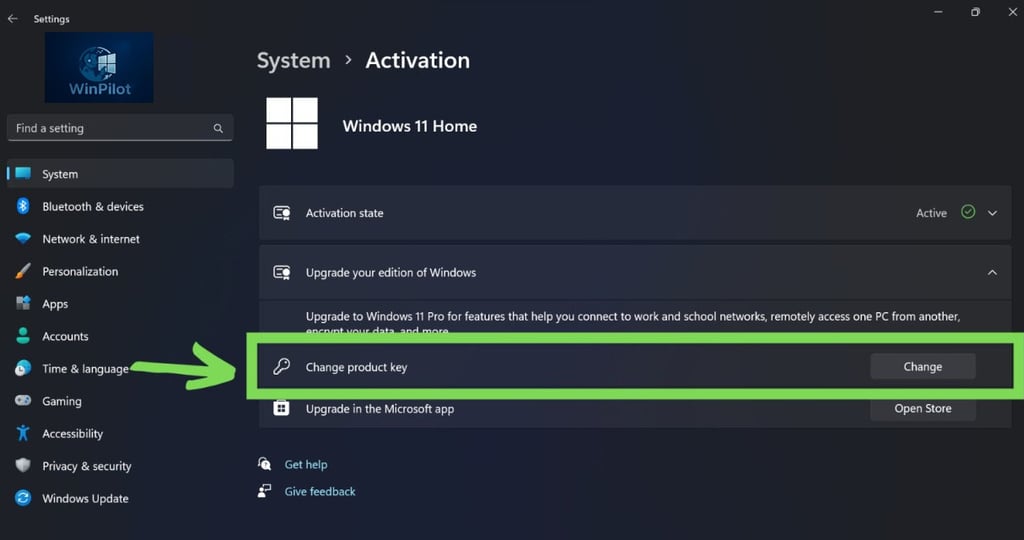
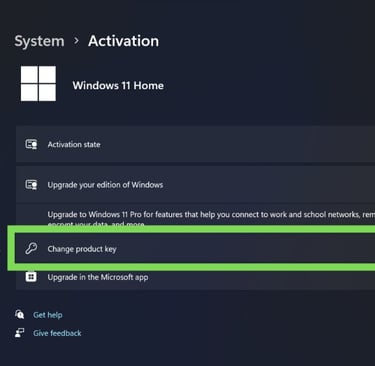
Select “Change Product Key” to open the screen where you can enter your activation key.
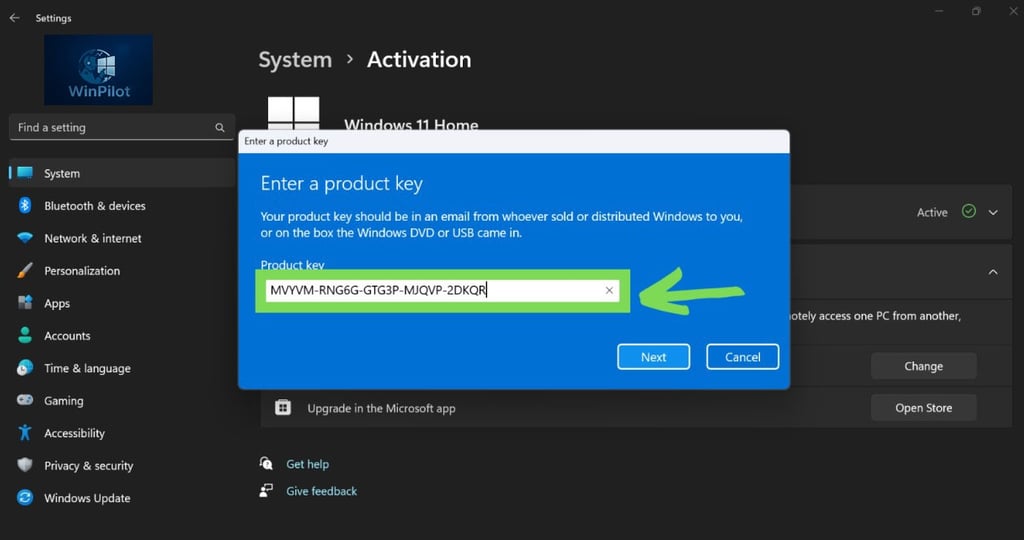
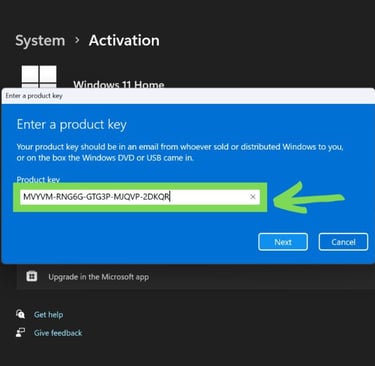
5. Inputting Your Key:
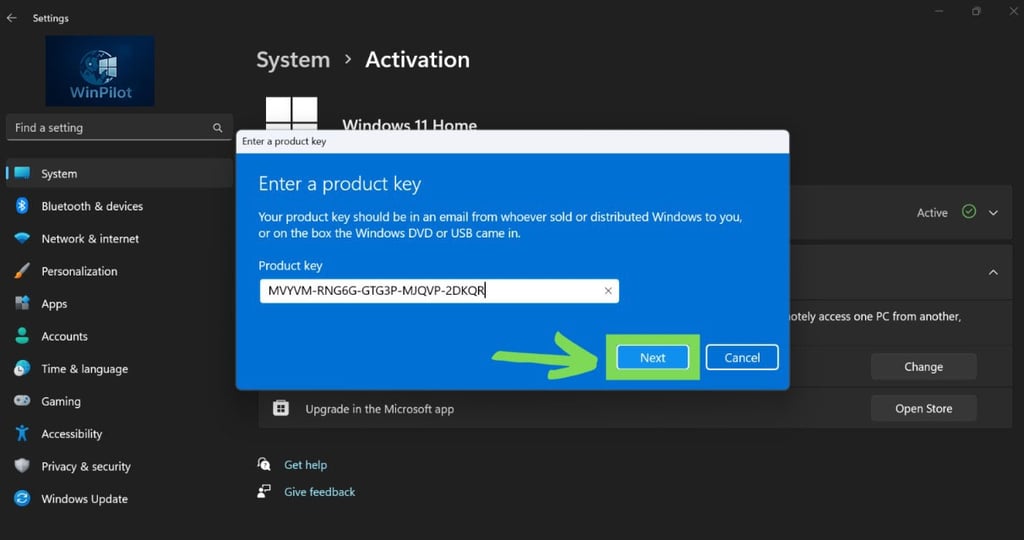
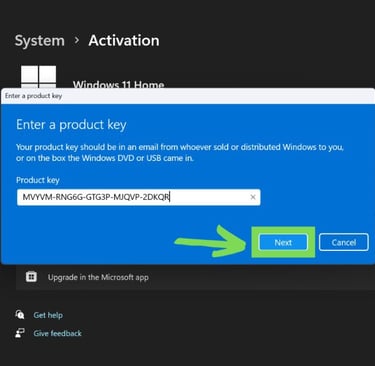
Enter the product key you received. Once entered, click “Next” to complete the activation process.
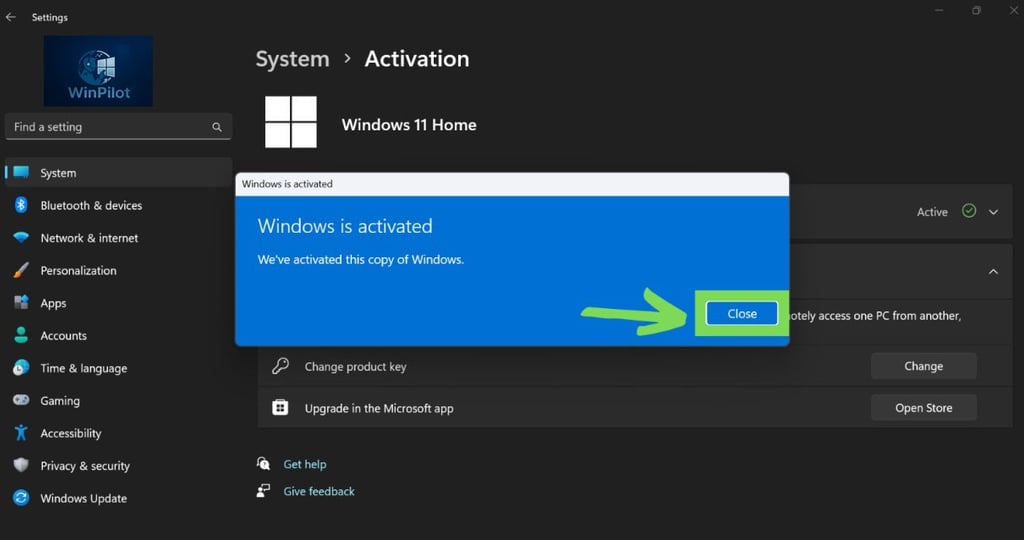
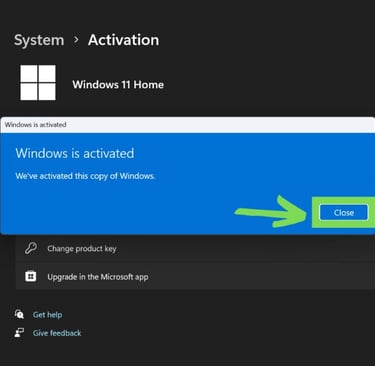
6. Activation Success:
Congratulations! Your Windows operating system is now activated. Your computer is ready to provide an optimized and secure experience.

If you encounter any issues or error messages during activation, please contact our support team for assistance at support@winpilotremote.com. You can also click here for our contact information.
If you receive an error after activation, we highly recommend checking the FAQ below. You will find solutions for the most common issues.
Frequently Asked Questions (FAQ)
Unable to activate Windows" "It looks like the hardware on this device has changed. (0xc0ea000a)
If you encounter this situation while activating Windows 11 Home or Windows 11 Pro, follow these steps. (If you encounter this issue while upgrading from Windows 11 Home to Windows 11 Pro, see the next option for the solution.)
You will need to follow the steps below.
1. Open powershell as an administrator.
2. type:
slmgr -ipk (Your product key here)
3. type and enter:
slmgr -ato
If you encounter any difficulties during this process or have any further questions, please do not hesitate to contact us for additional assistance at support@winpilotremote.com.
Unable to activate Windows" "It looks like the hardware on this device has changed. (0xc0ea000a) - Option 2
If you encounter this issue while upgrading from Windows 11 Home to Windows 11 Pro, kindly follow the steps below.
The steps below are only valid for Windows Home Edition and not for Home N Edition.
Proceed as follows with the Generic Key:
Cut the Internet connection > open the Windows Settings > go to Activation > change the Product Key to the Generic Pro Key:
VK7JG-NPHTM-C97JM-9MPGT-3V66T
You will then get an error message. Ignore them and restart the computer.
The Windows Edition should then have changed to Pro.
After restart reconnect to the internet.
And then go back to change product key > change the key to the existing one to activate Windows.
If you encounter any difficulties during this process or have any further questions, please do not hesitate to contact us for additional assistance at support@winpilotremote.com.
Windows 7 to Windows 10 - Error code: 0x80072F8F - 0x20000
We understand your concern regarding the error you encountered while upgrading from Windows 7 to Windows 10, specifically Error Code: 0x80072F8F – 0x20000. To help resolve this issue, we recommend following the guidance provided in this video:
https://www.youtube.com/watch?v=msrAthmy2pA
If you encounter any difficulties during this process or have any further questions, please do not hesitate to contact us for additional assistance at support@winpilotremote.com.
Error code 0x80070490 - Windows 11 Home to Pro upgrade issue
Error code 0x80070490 typically indicates that there’s a problem with the installation files or settings preventing the upgrade from completing successfully. Here’s a brief instruction on how to disable .NET Framework features and upgrade from Windows 11 Home to Pro:
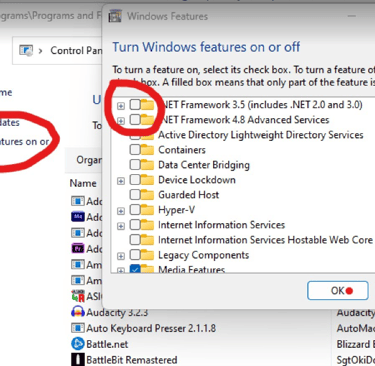
1. Disable .NET Framework Features:
– Press the `Windows key + R` to open the Run dialog box.
– Type “optionalfeatures” (without quotes) and press Enter. This will open the “Turn Windows features on or off” window.
– In the list of features, uncheck the boxes next to “.NET Framework 3.5 (includes .NET 2.0 and 3.0)” and “.NET Framework 4.0 Advanced series”.
– Click OK and follow any prompts to apply the changes. Restart your computer if prompted.
2. Upgrade to Windows 11 Pro:
– Go to Settings > System > Activation.
– Click on “Change product key” and enter the product key provided for Windows 11 Pro.
– Once the product key is accepted, go to Settings > Update & Security > Windows Update.
– Click on “Check for updates” and download any available updates, including the Windows 11 Pro upgrade.
– Follow the on-screen instructions to install the upgrade. Your PC should now be running Windows 11 Pro.
3. Re-enable .NET Framework Features (Optional):
– If you need .NET Framework for any applications or system functionality, you can re-enable the features by following the same steps in the “Turn Windows features on or off” window and checking the boxes next to “.NET Framework 3.5” and “.NET Framework 4.0 Advanced series”.
.Net sometimes appears under “Turn Windows Features on or off”. We added a screenshot below.
By following these steps, you should be able to successfully upgrade from Windows 11 Home to Pro while temporarily disabling .NET Framework features. Remember to re-enable them if needed after the upgrade process is complete.
If you encounter any difficulties during this process or have any further questions, please do not hesitate to contact us for additional assistance at support@winpilotremote.com.

Remote IT Support Worldwide
Fast, secure, and professional remote computer assistance specializing in Microsoft Windows and Office installation, activation, diagnostics, and optimization.
Contact US:
© 2025 WinPilot. All rights reserved.